Project 1 — Unit 1 Logo Design
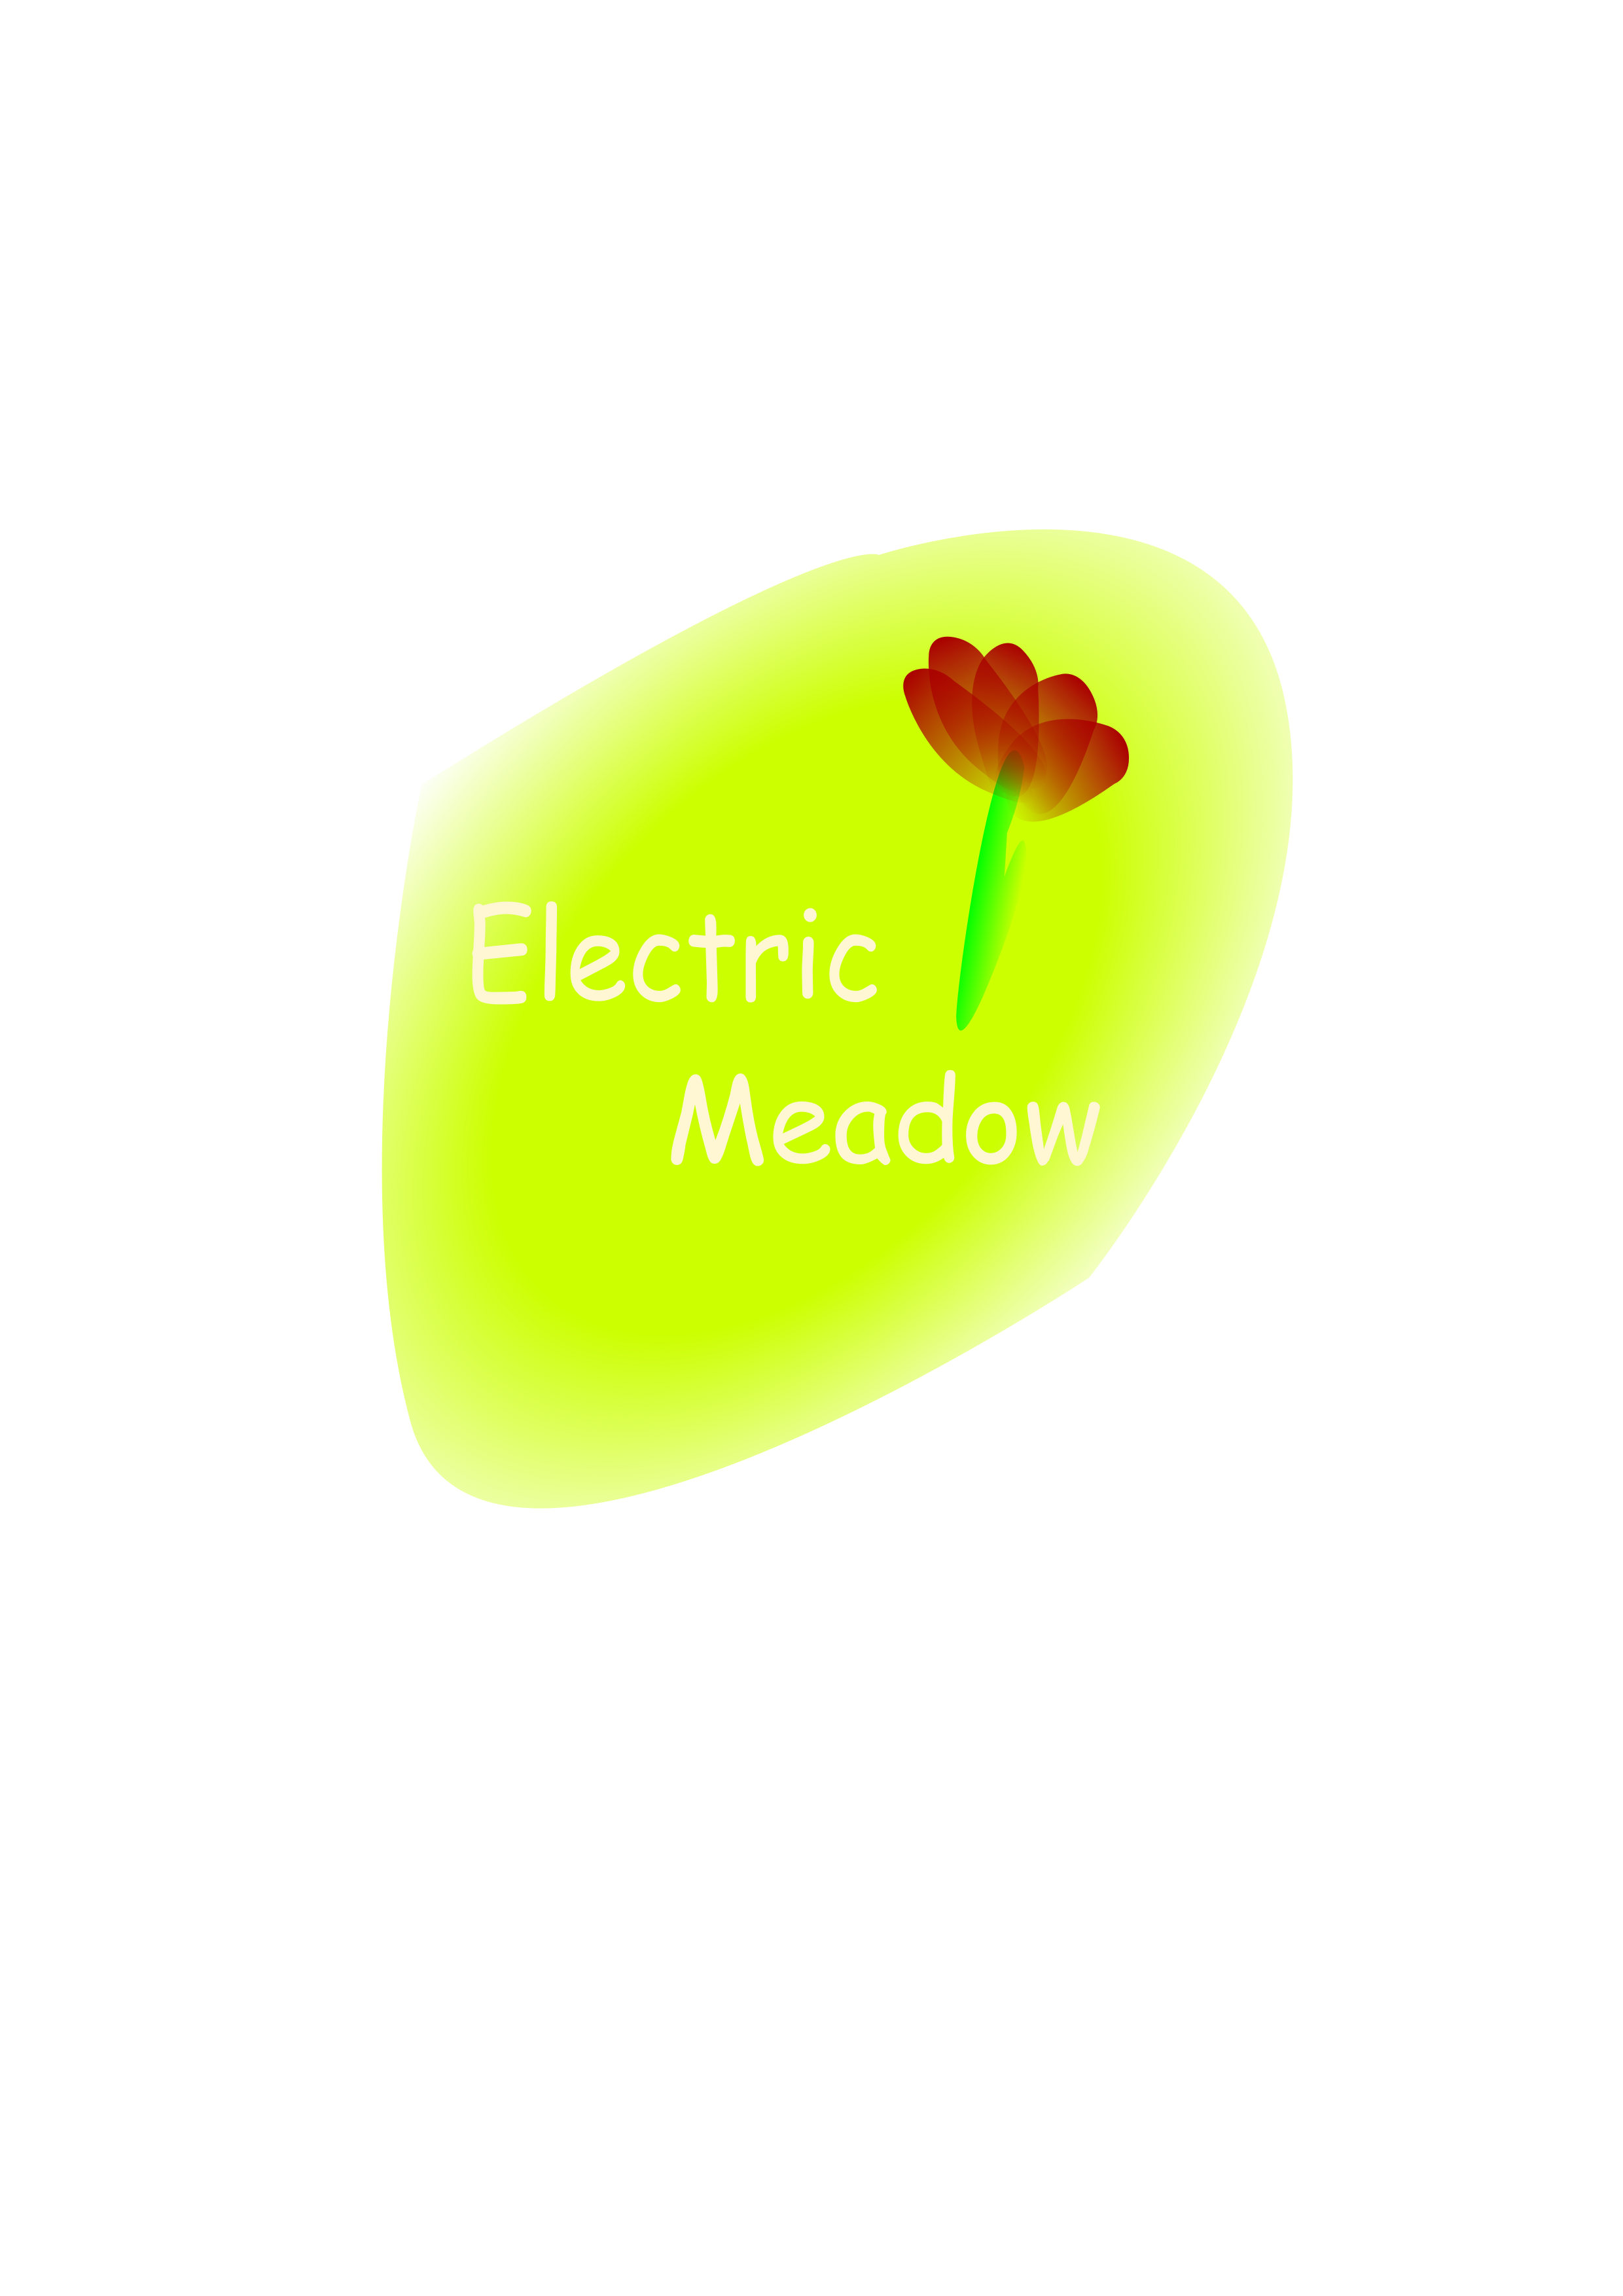
Final logo balances geometric petals with clean type and subtle gradients. I refined anchor points and spacing for legibility at small sizes. Palette selection emphasizes contrast and brand warmth, tested across dark/light backgrounds and export sizes for print and web delivery.
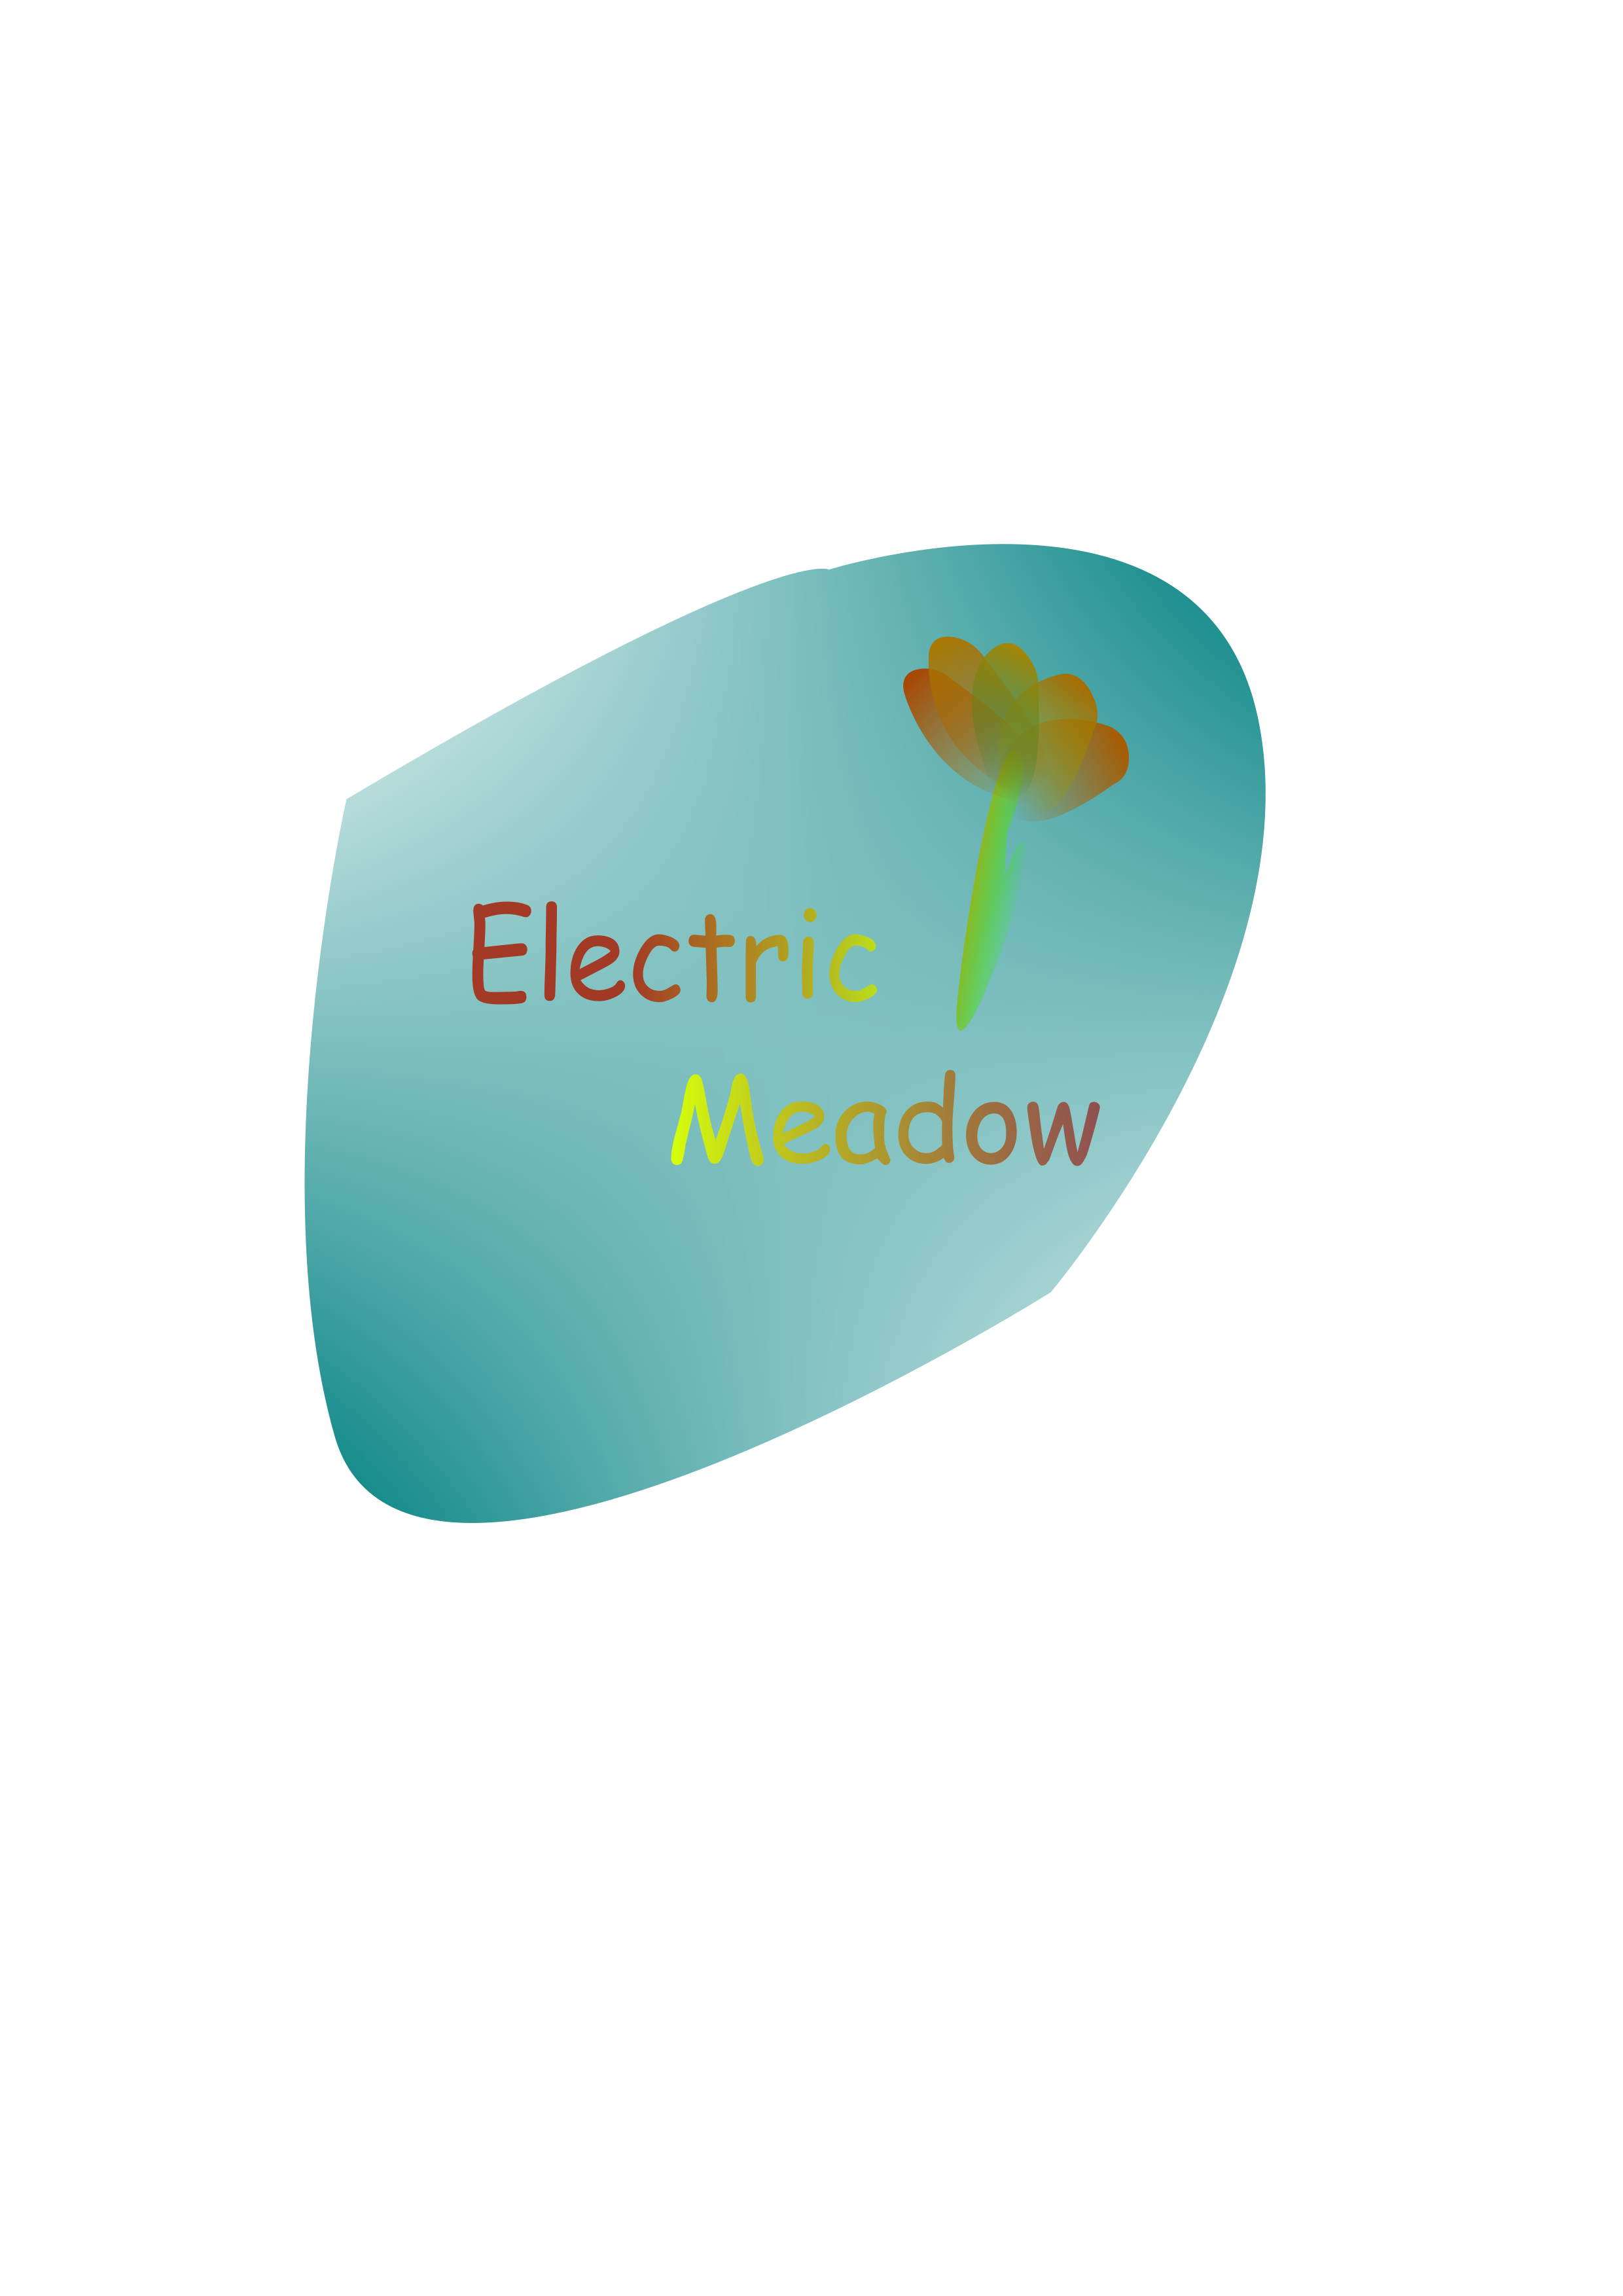
Process Image

Process Work
- Sketched floral badge concepts and gathered references for petal geometry.
- Built vector layers in Inkscape 1.2, refining gradients and type hierarchy with Bézier tools.
- Tested alternate colour pairs (RGB #ff6b6b / #7c3aed) with peers before locking the final palette.
Statement of Intent (70-80 words): In the unit 1 "Logo Design", I used Inkscape to design the graphic, applying techniques such as layering, gradients, and text layout. I incorporated principles of color contrast and visual balance, along with geometric composition rooted in mathematical concepts. During the creative process, i experimented with various flower shapes and background forms,ultimately resolving the challenge of unclear visual focus,The final logo is distinctive and creatively expressive.
Project 2 — Unit 1 Symbols and Signs
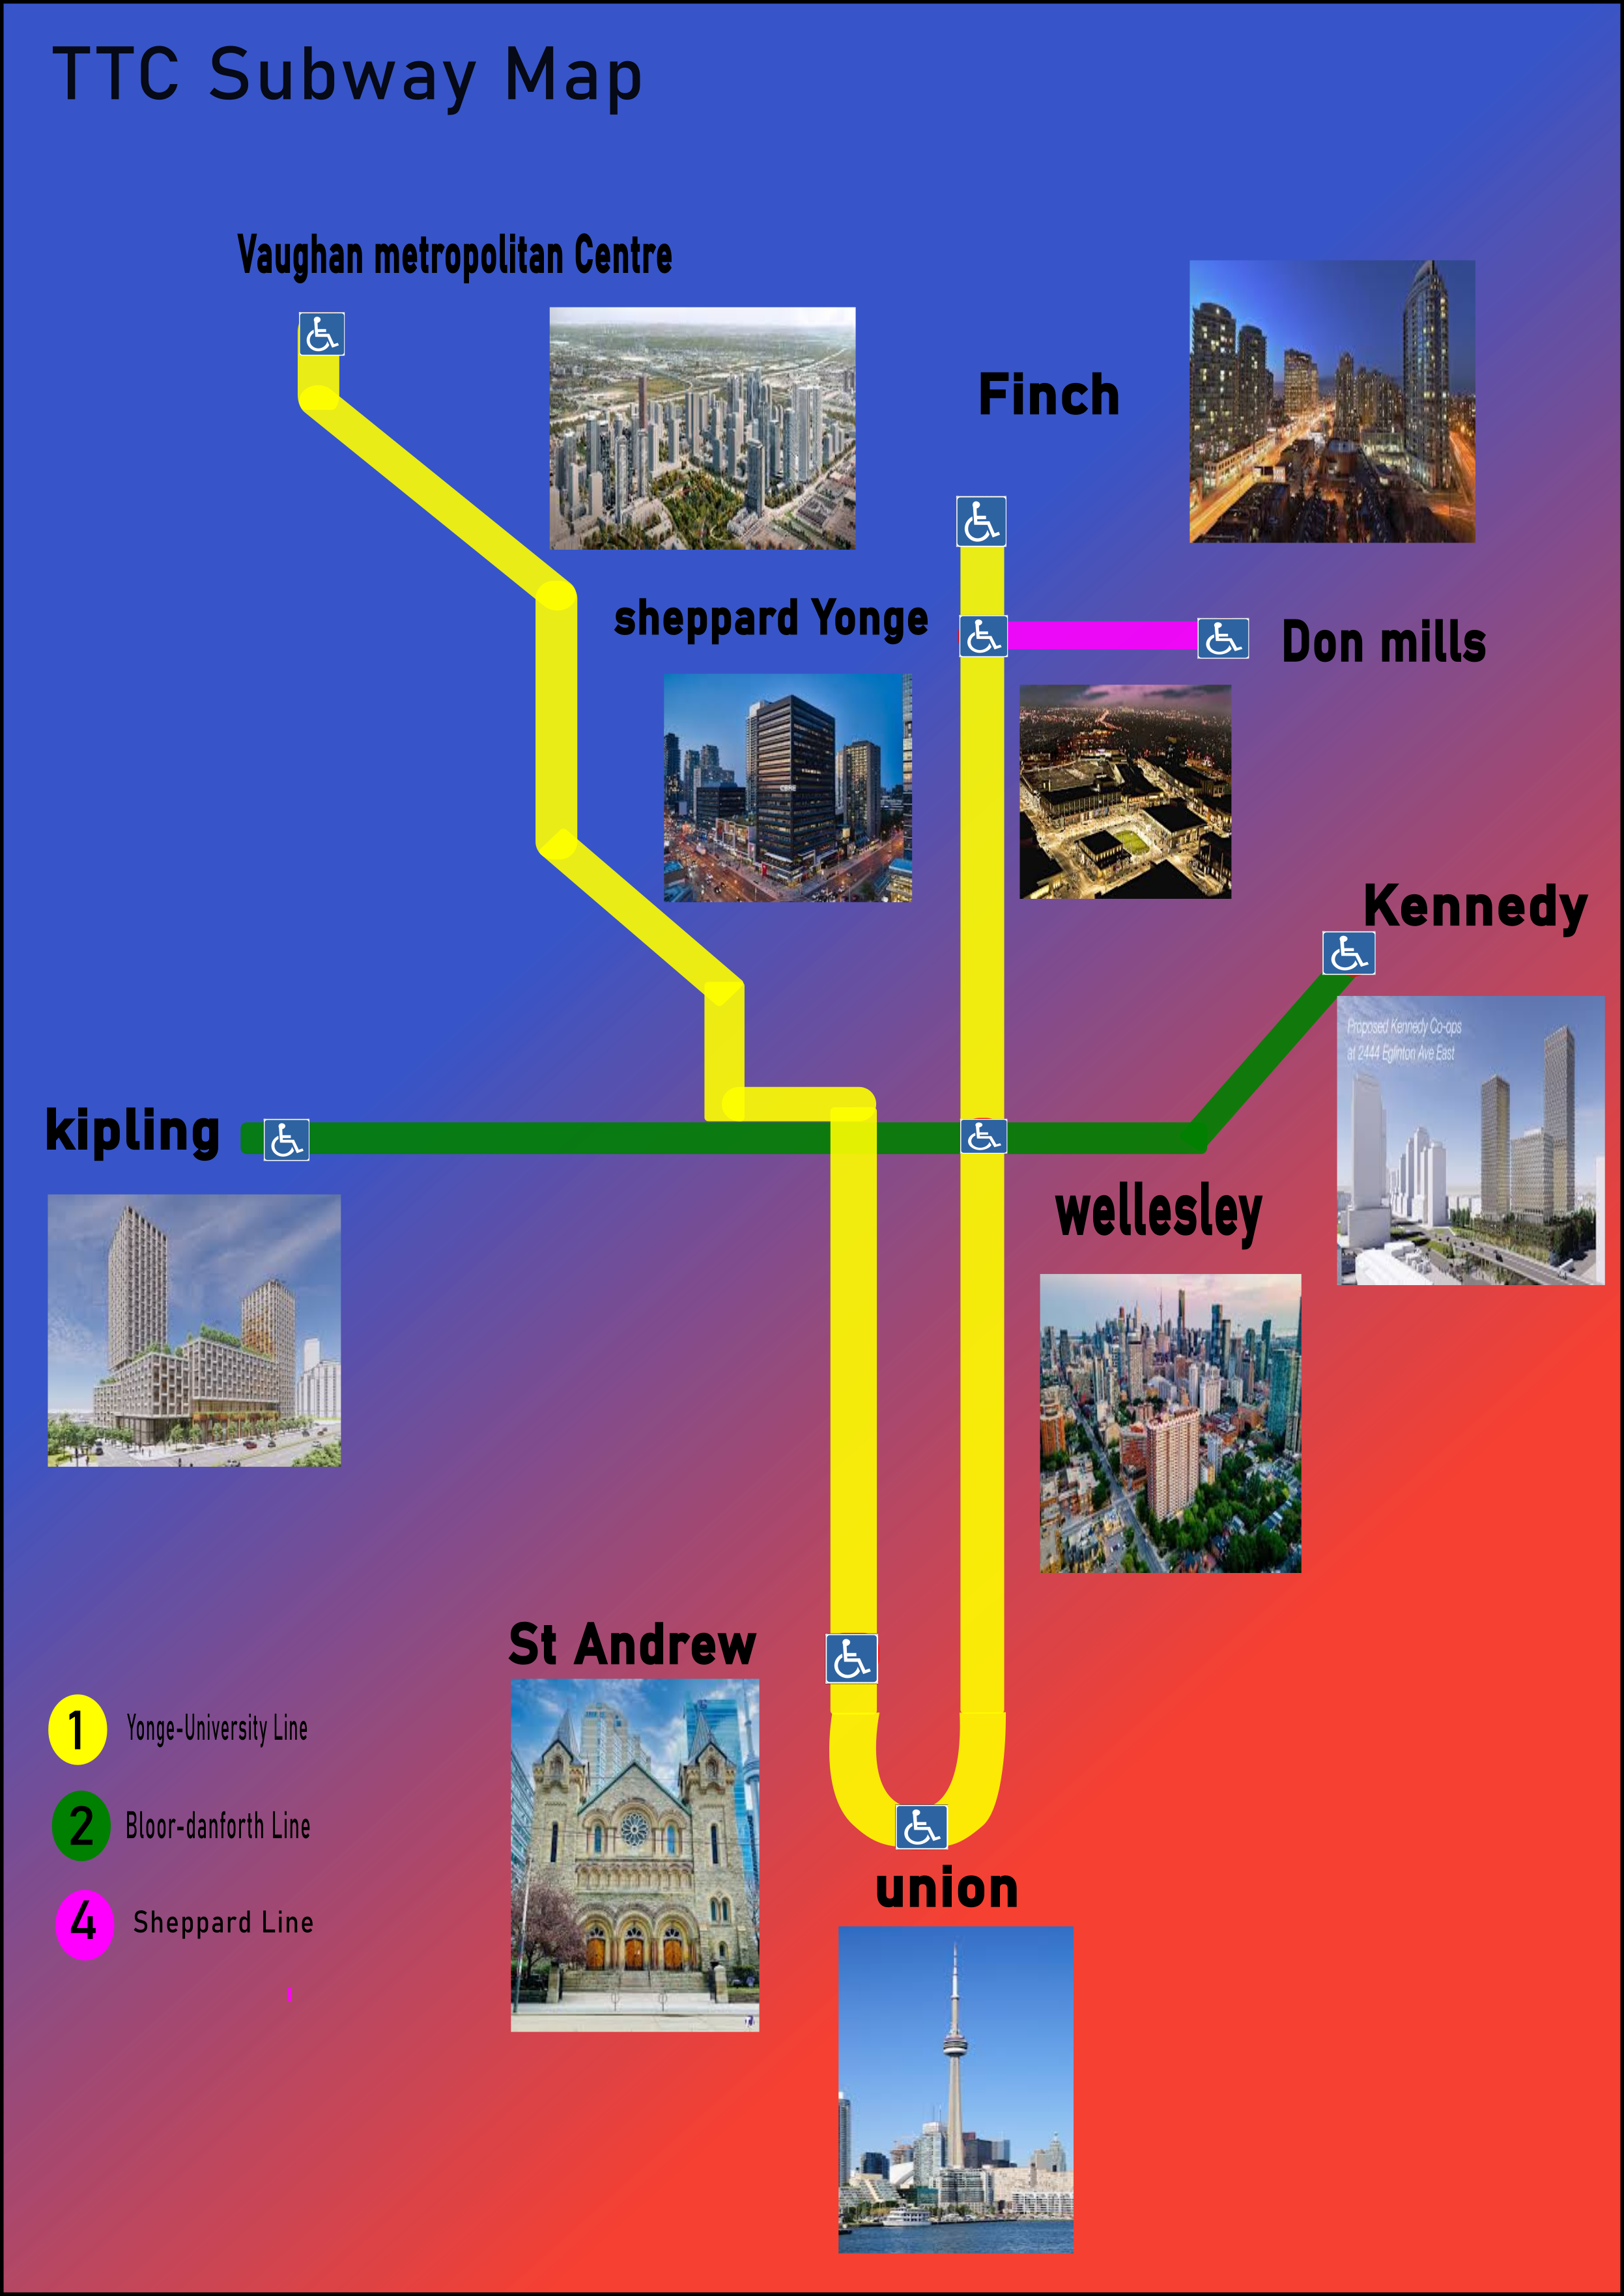
Finished transit map uses simplified icons, consistent stroke weights, and color-coded districts. Labels follow a clear hierarchy for quick scanning. I optimized spacing and symbol sizes for mobile readability, ensuring landmarks remain recognizable without clutter and that routes feel continuous and intuitive.
Process Image
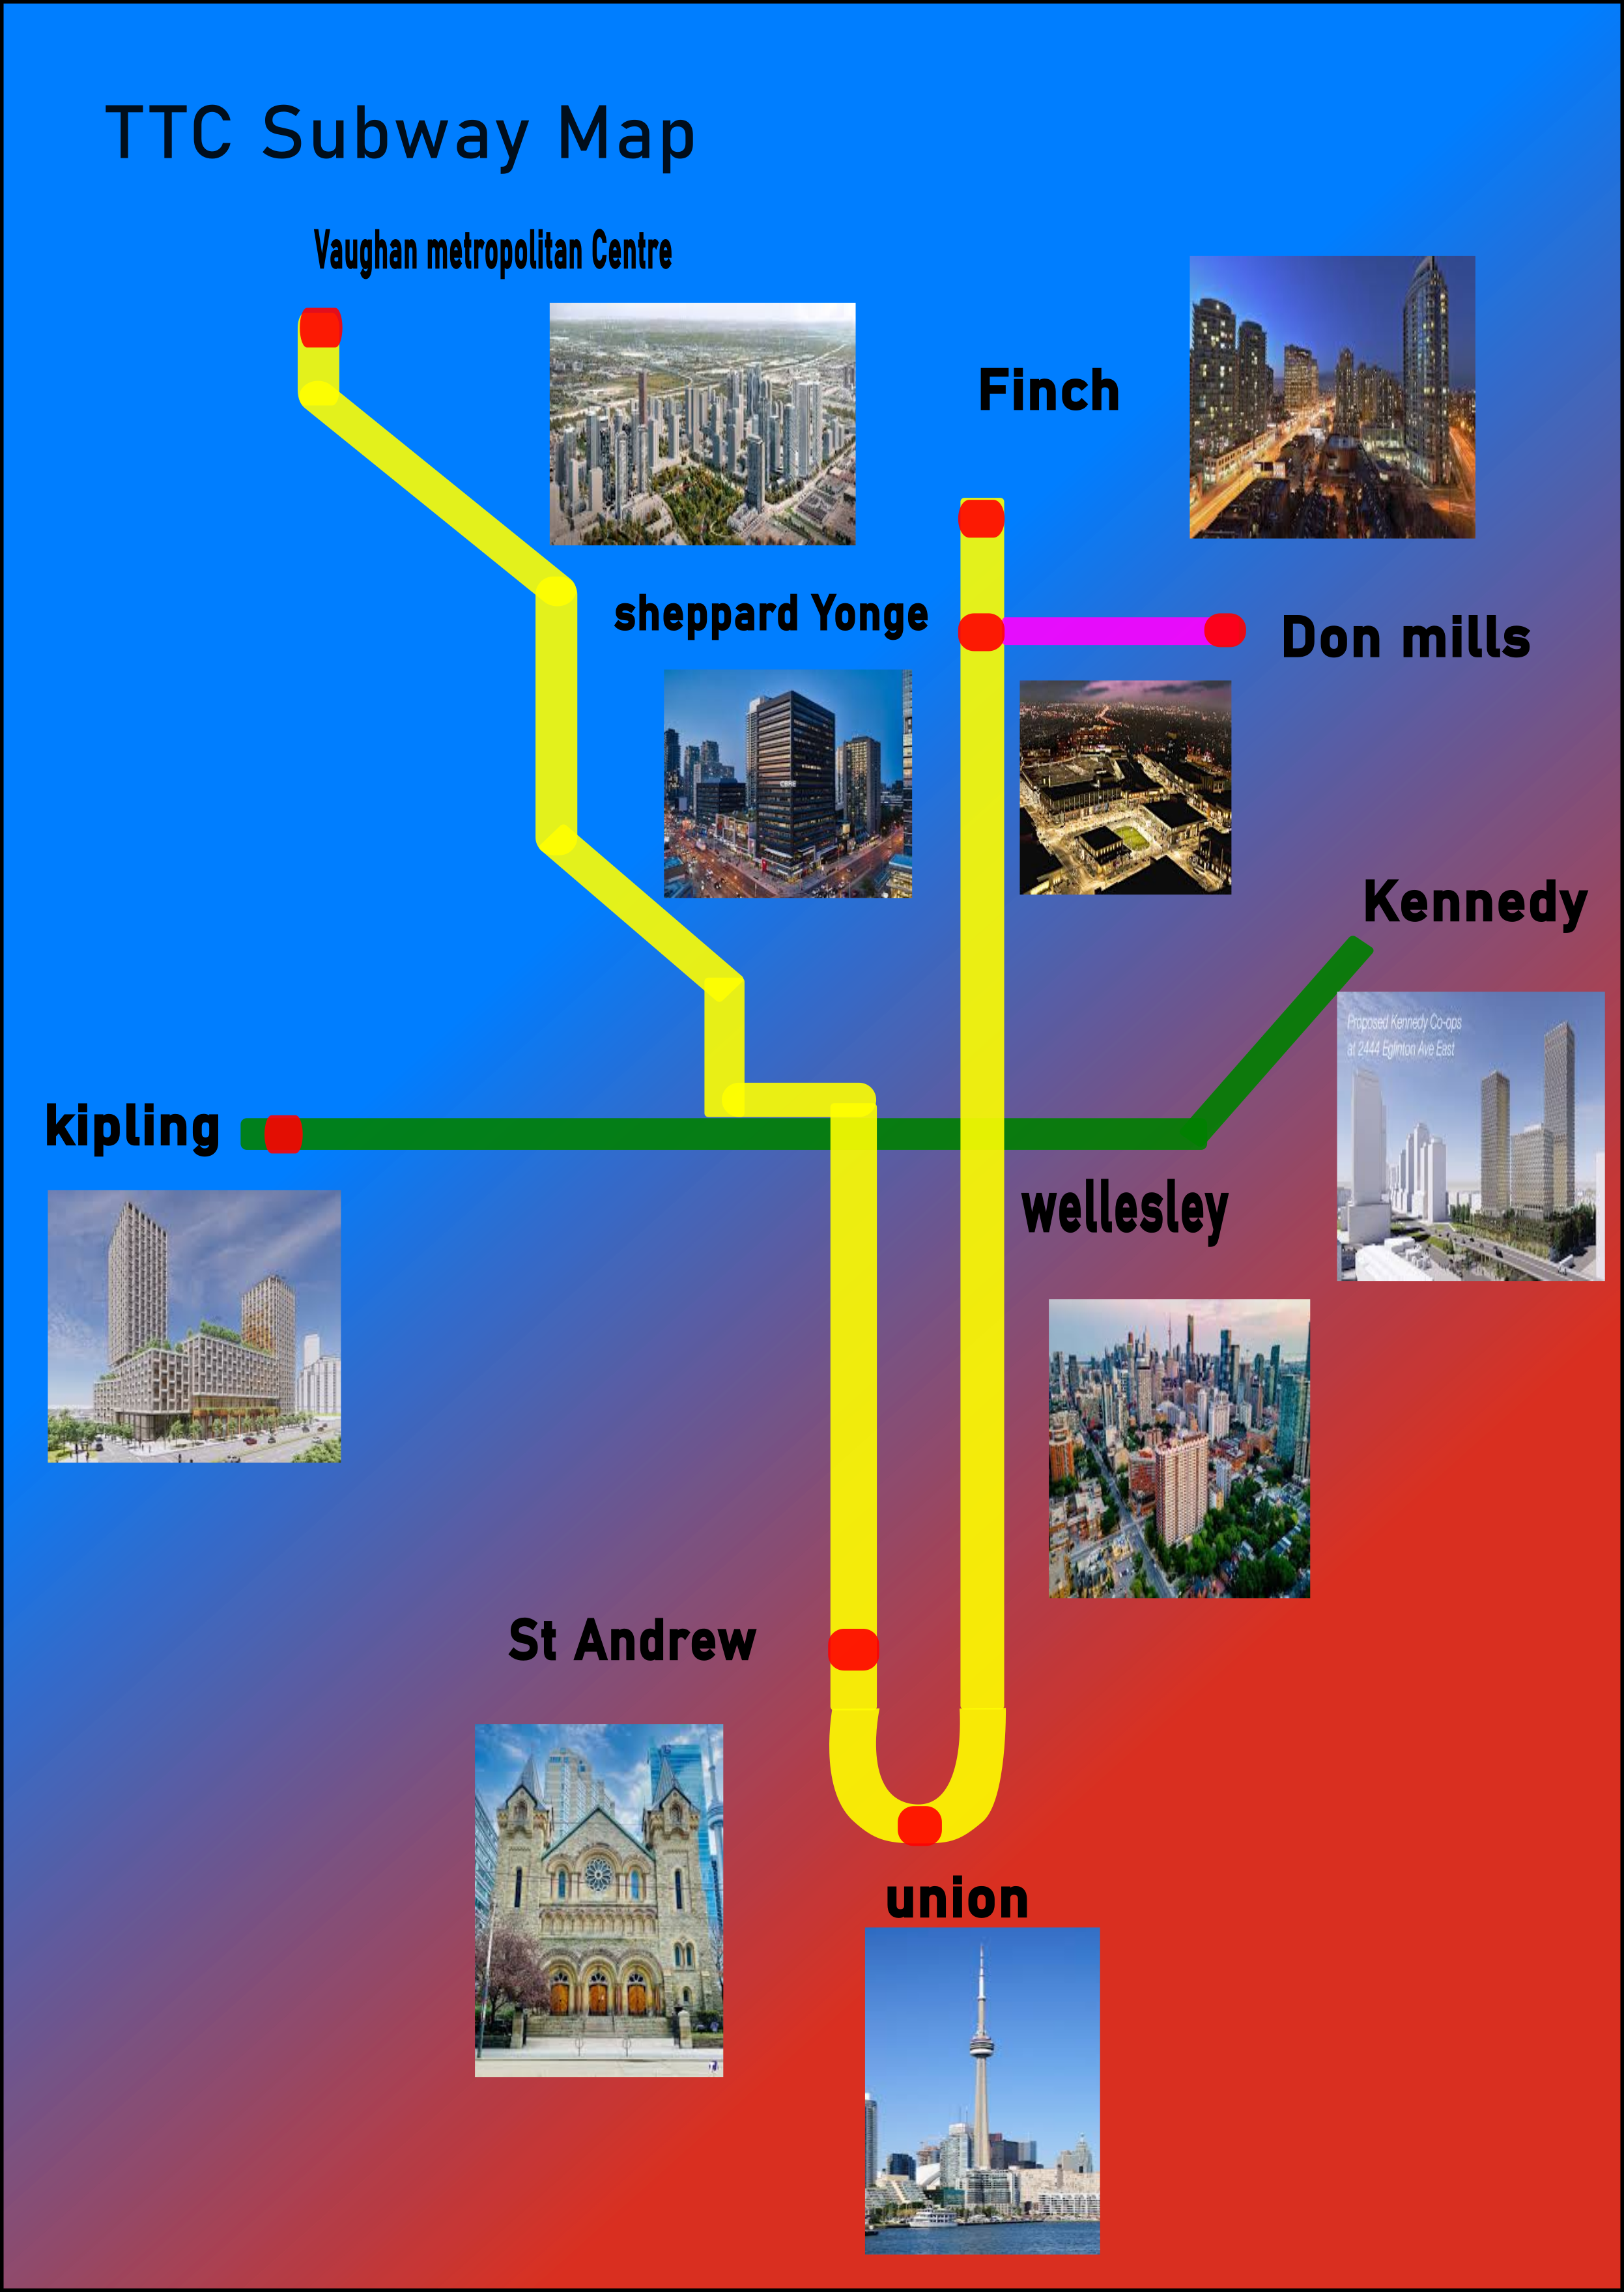
Process Work
- Researched icon libraries and noted which shapes communicate common services.
- Drafted a pencil map to organize districts before digitizing the layout in Inkscape 1.2.
- Iterated symbol sizing (18–24 px stroke, 2 pt uniform) to balance clarity and legibility on screen.
Statement of Intent (70-80 words): In the "Symbols and Signs" project, I created a map using Inkscape to represent various locations and landmarks. I focused on clarity and simplicity, using easily recognizable symbols and a consistent color scheme to enhance readability. The design process involved researching effective cartographic techniques and iterating on symbol designs to ensure they conveyed the intended information effectively. The final map is both functional and visually appealing.
Project 3 — Photographic Experiment
Selected photo showcases sunrise contrast and layered silhouettes. I balanced exposure to preserve highlight detail while reducing noise. Subtle cropping and local adjustments guide attention to the river reflections, reinforcing the narrative mood without overstating edits or losing the natural atmosphere captured on location.
Process Image

Process Work
- Shot multiple angles at sunrise (ISO 200–400, f/8, 1/250s) to compare shadow direction and contrast.
- Documented exposure settings and adjusted ISO to limit image noise in early‑morning light.
- Reviewed contact sheets in Adobe Bridge, selecting frames that best supported the story.
Statement of Intent (70-80 words): In this photographic experiment, I explored different lighting techniques and compositions to capture unique perspectives. I utilized natural light and experimented with angles to create depth and interest in my photos. The process involved taking multiple shots and adjusting camera settings to achieve the desired effects. The final images reflect my intention to highlight textures and contrasts, showcasing my growth in photographic skills and understanding of visual storytelling.
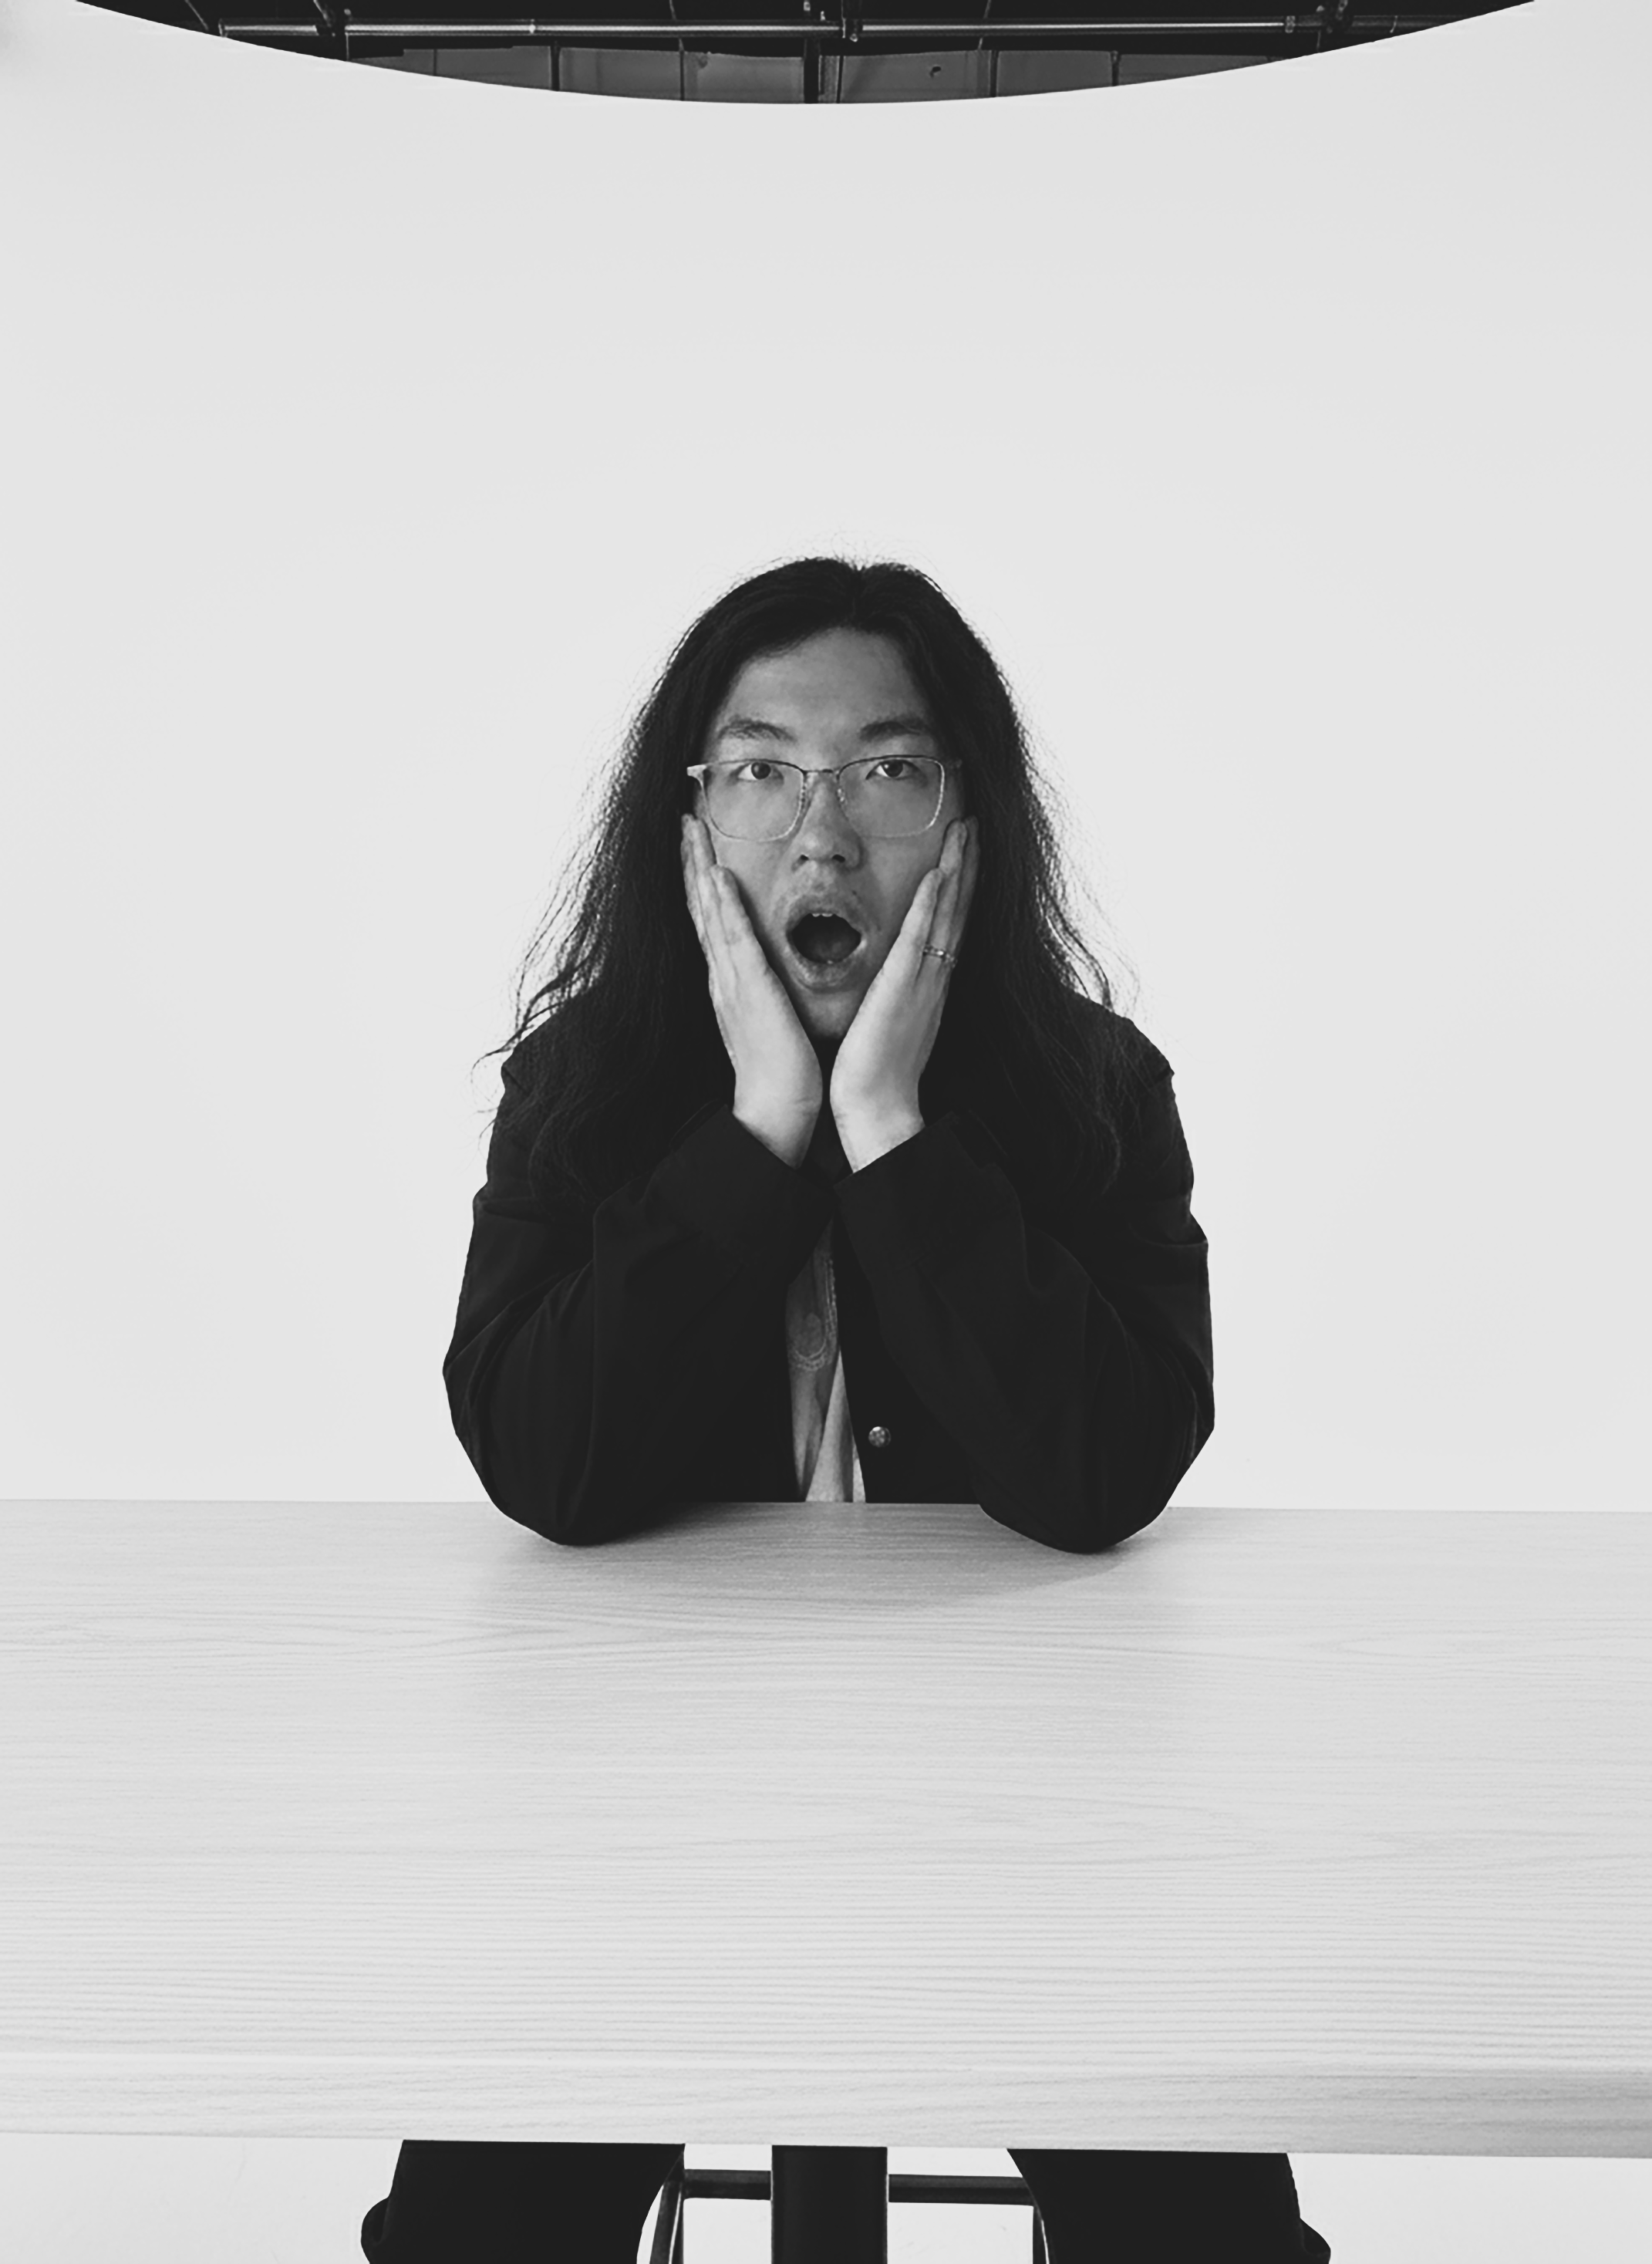
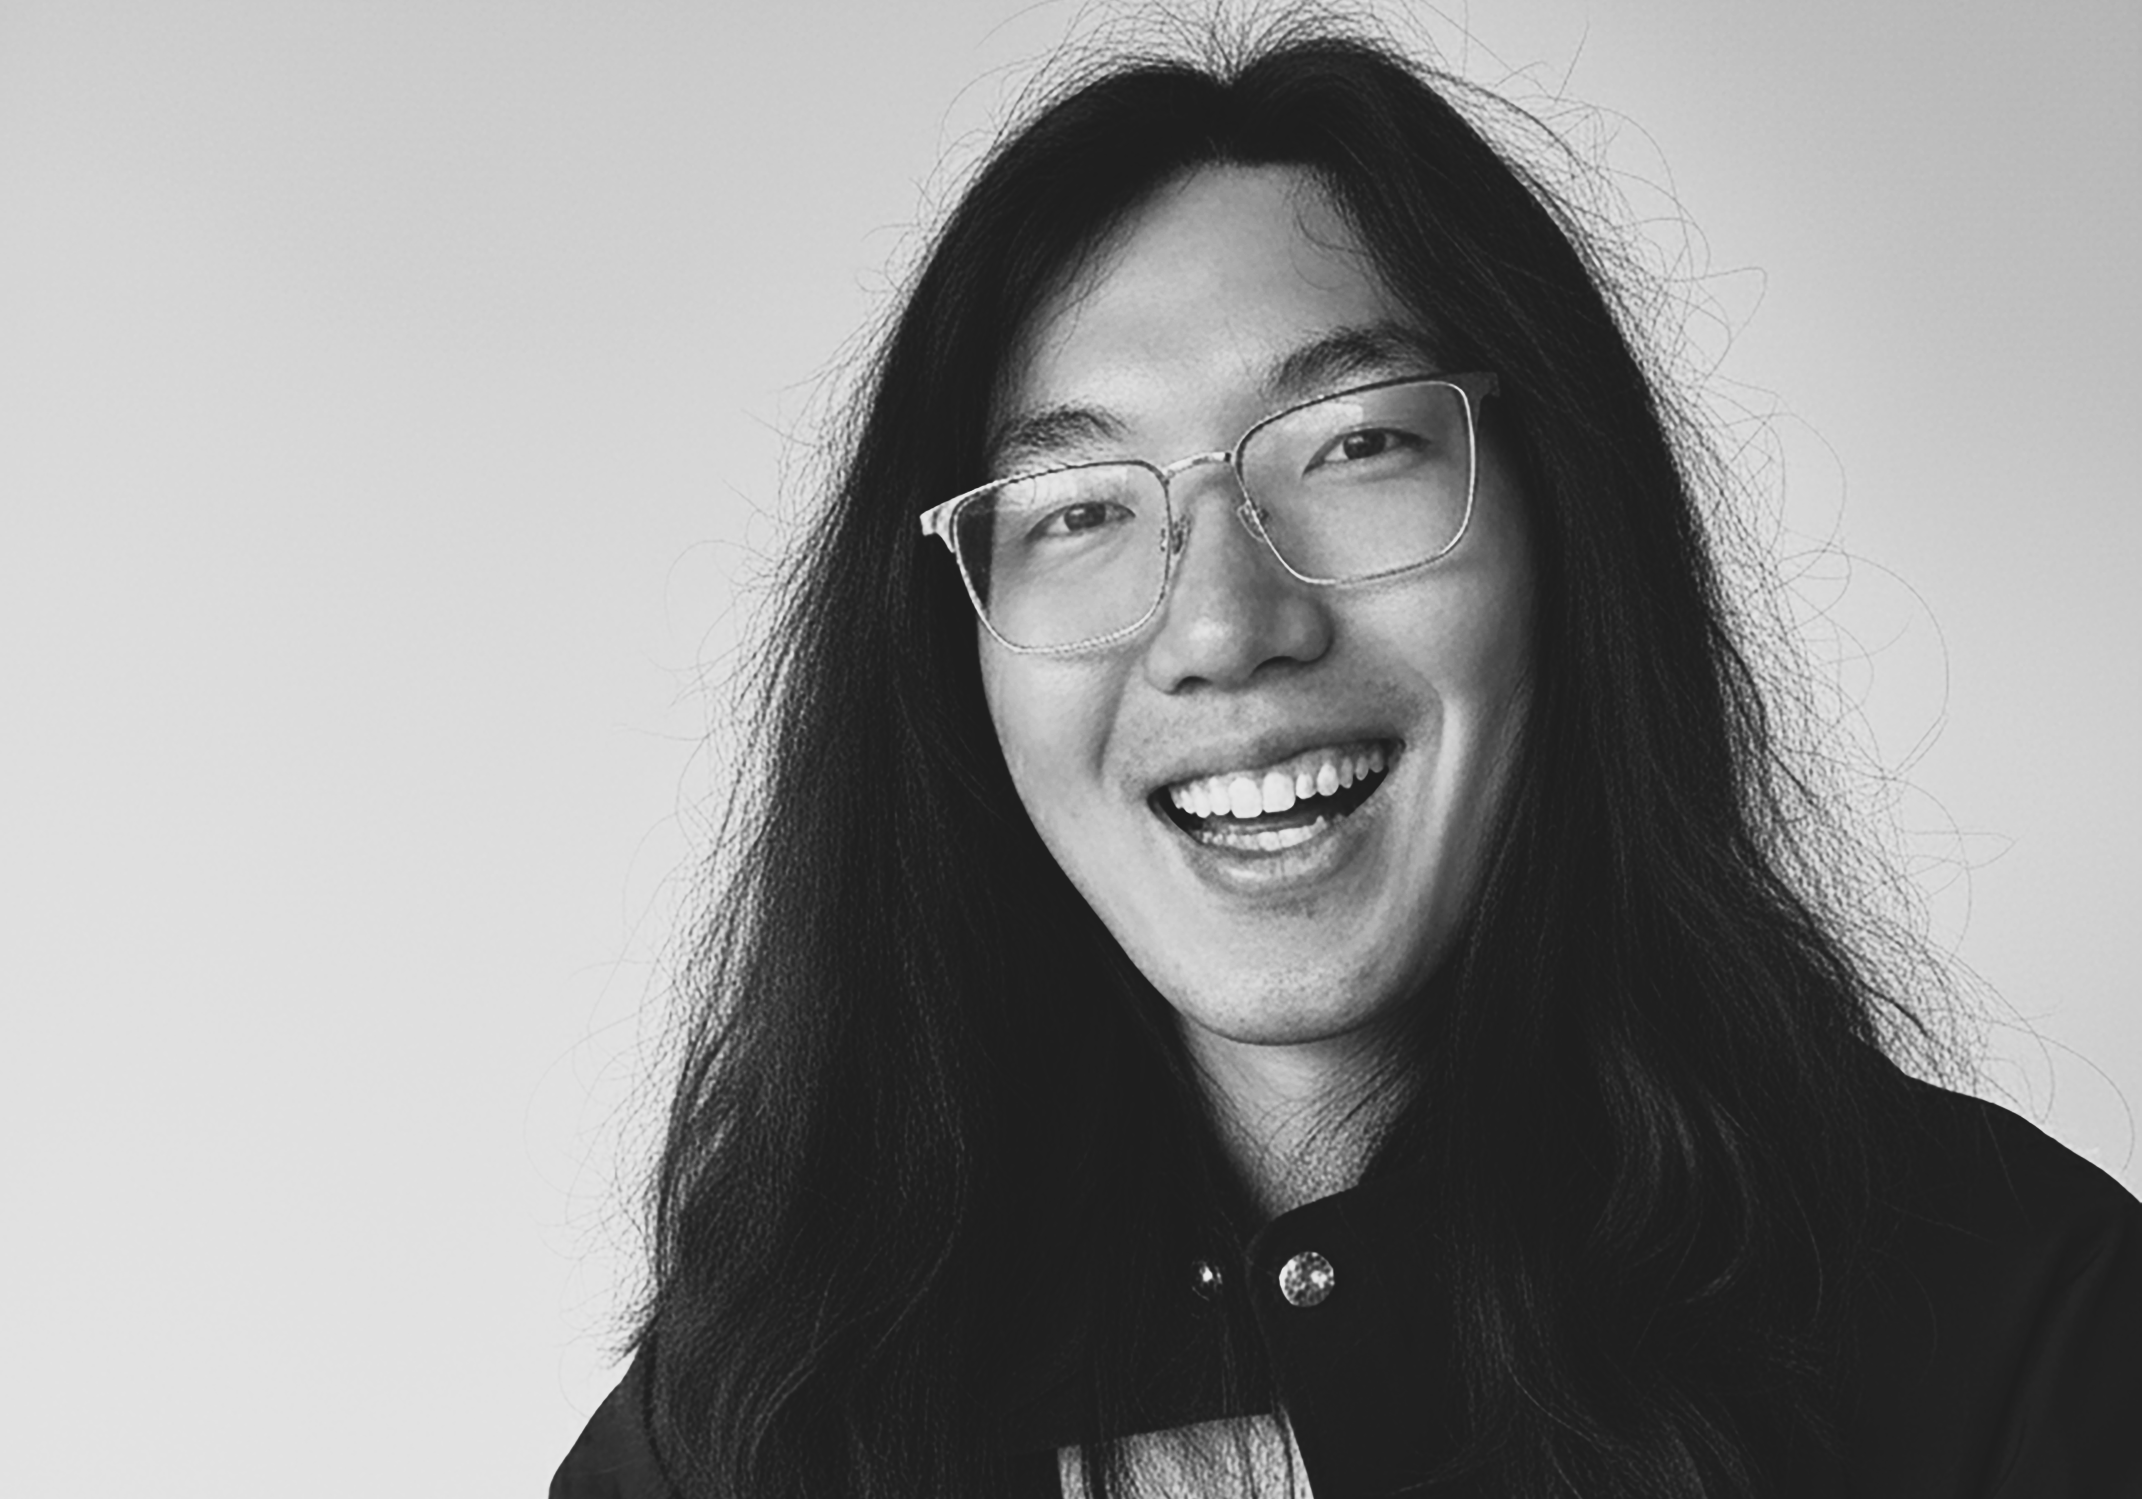
Project 4 — Black and White Photography
Final portraits emphasize expression with directional light and deep shadows. I kept backgrounds minimal to reduce distraction. Contrast curves and dodging accentuate eyes and cheekbones, maintaining skin texture. The series reads as a set, unified by framing, tonal range, and consistent gesture-driven poses.
Process Image

Process Work
- Planned shot list emotions and practised expressions with the model in a controlled studio setup.
- Set up a single 500W key light (45° angle) with reflector cards to sculpt highlight and shadow.
- Edited RAW captures in Lightroom Classic 12, fine‑tuning contrast curves (+30 blacks, –20 highlights) for drama.
Statement of Intent (70-80 words): In this black and white photography project, I focused on capturing emotions through facial expressions and body language. I utilized high contrast lighting to emphasize features and create dramatic effects. The process involved directing subjects to convey specific emotions while experimenting with different angles and compositions. The final photographs successfully communicate the intended feelings, demonstrating my ability to use monochromatic techniques to enhance emotional impact in visual storytelling.
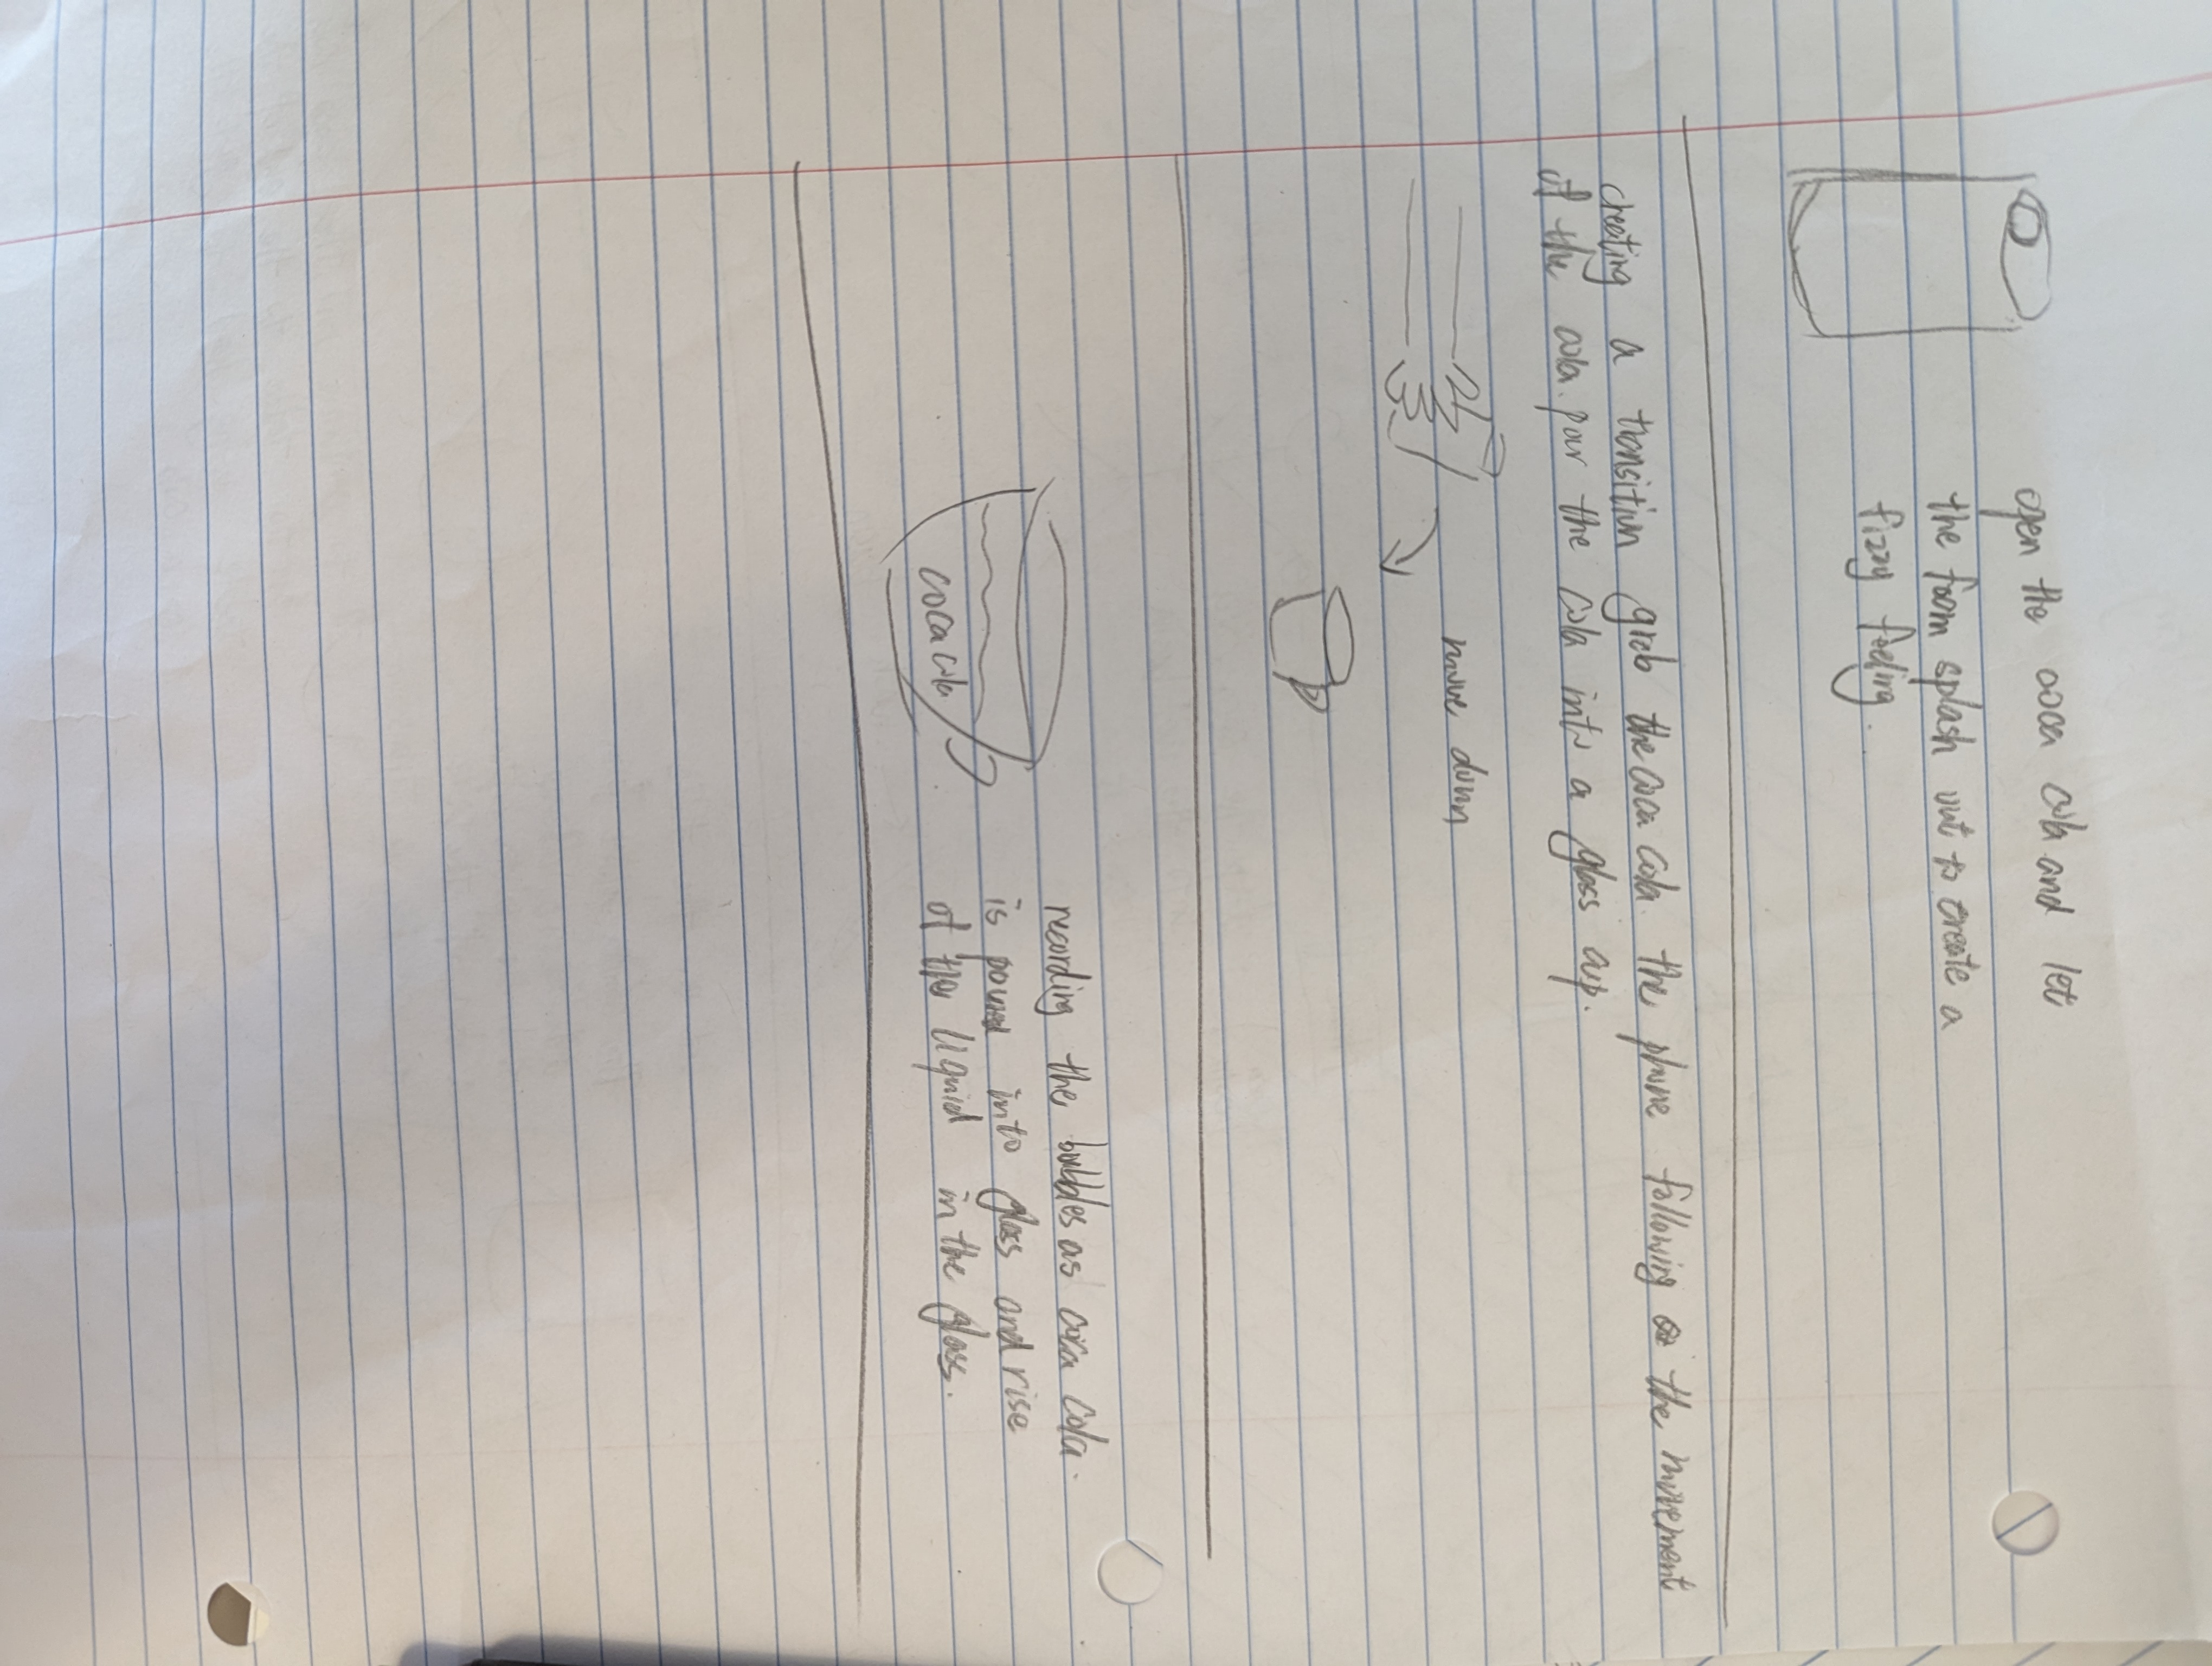
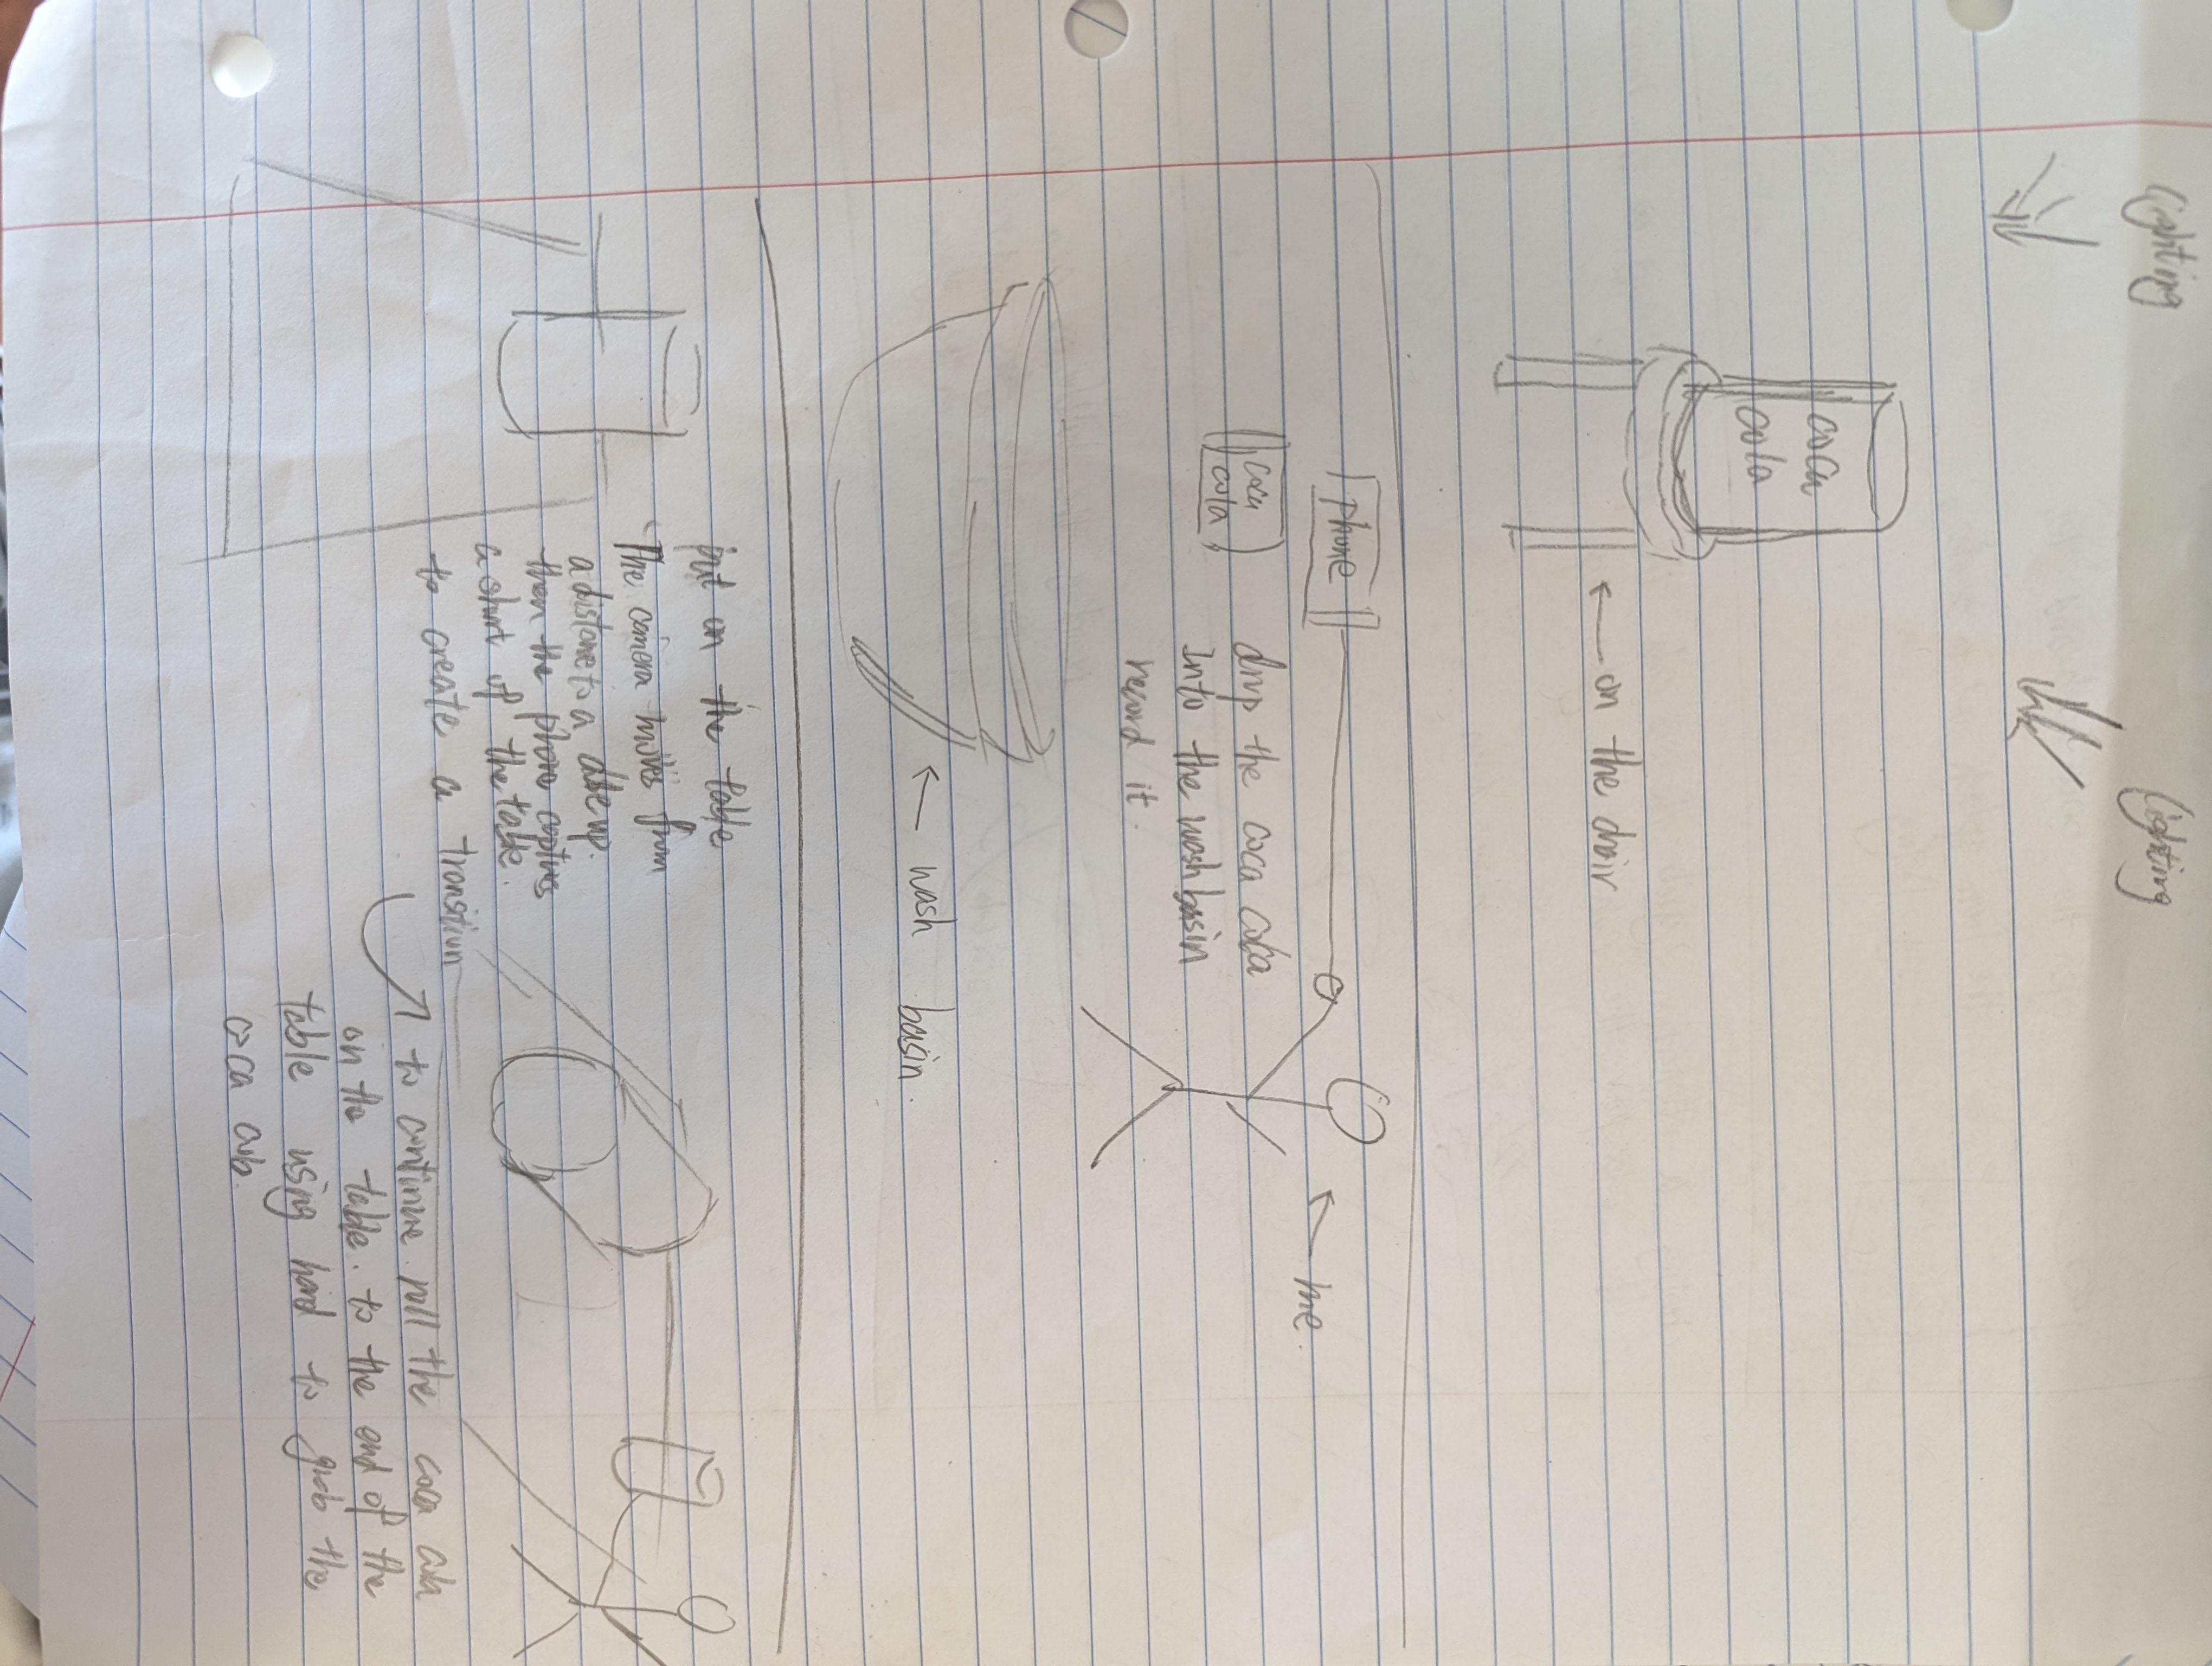
Project 5 — Movie Scene Recreation
Process Image

Process Work
- Storyboarded key frames while noting timing cues (0:14–0:22 beat markers) from the original sequence.
- Coordinated props and lighting tests (3200K tungsten + daylight fill) to align mood and colour temperature.
- Layered sound design in Premiere Pro 2023 and applied teal–orange LUT (FilmConvert Nitrate) for cinematic tone.
Statement of Intent (70-80 words): In the "Movie Scene Recreation" project, I aimed to replicate a memorable scene from a film using video editing techniques. I focused on matching the original scene's lighting, camera angles, and color grading to achieve a similar aesthetic. The process involved careful planning, filming, and post-production editing using software tools. The final video showcases my ability to analyze cinematic elements and apply them effectively in my own creative work.
Recreated scene matches key framing, lens perspective, and color temperature. I timed actor beats to original edits and built a simple three-point lighting plan. Grade leans teal–orange for cinematic contrast, with subtle film grain added to integrate props and backgrounds convincingly.